
Are you tired of spending hours scrubbing your floors by hand? Imagine having a floor cleaning machine that makes the job faster and easier—built by you, for your own needs.
In this guide, you’ll discover simple steps to create your very own floor cleaning machine without breaking the bank. Whether you want to save money or customize your cleaning tool, this article will show you how to get started right now.
Keep reading, and you’ll soon have a powerful helper that transforms your cleaning routine.
Choosing The Right Materials
Choosing the right materials is key to building a floor cleaning machine. Materials affect the machine’s strength, weight, and durability. Picking poor materials can cause the machine to break or work poorly.
Consider the type of floors you want to clean. Different surfaces need different materials for the brushes and body. The materials must resist water and cleaning chemicals.
Choosing Durable Frame Materials
The frame needs to be strong and light. Steel is strong but heavy. Aluminum is lighter and resists rust. Plastic frames are light but may break easily. Choose a material that balances strength and weight.
Selecting Brushes And Pads
Brushes clean floors by scrubbing dirt. Use nylon or polypropylene for soft surfaces. Hard surfaces need stiff brushes, like those made from wire or tough plastic. Pads should be soft for delicate floors and rough for hard floors.
Picking The Right Motor And Electrical Parts
Motors power the machine. Choose a motor that fits your machine size. Small motors work for light cleaning; bigger motors work for heavy tasks. Use parts that handle moisture well to avoid damage.
Gathering Essential Tools
Gathering the right tools is the first step to make a floor cleaning machine. The tools must be easy to use and widely available. Having all the necessary tools saves time and effort during assembly.
Focus on tools that help build the machine’s main parts. This ensures the machine works well and lasts long.
Basic Hand ToolsBasic hand tools include screwdrivers, pliers, and wrenches. These tools help tighten screws and bolts. They are essential for assembling parts securely.
Electric Drill and BitsAn electric drill makes holes quickly and accurately. Drill bits of different sizes are needed for various parts. This tool speeds up the building process.
Measuring Tape and LevelMeasuring tape helps get exact dimensions. A level ensures that parts are straight. Both tools improve the machine’s balance and function.
Welding EquipmentWelding is necessary for joining metal parts. Basic welding gear includes a welder, mask, and gloves. Proper welding makes the machine strong and durable.
Protective GearSafety is important during construction. Use gloves, goggles, and masks to protect yourself. This gear prevents injuries and keeps you safe.
Step-by-step Assembly
Building a floor cleaning machine by yourself saves money and helps you understand how it works. This step-by-step assembly guide breaks the process into simple tasks. Follow each step carefully to create a reliable cleaning tool.
Gather All Required Parts And Tools
Collect every part before starting. You need a motor, brushes, wheels, a battery, and a frame. Use screwdrivers, pliers, and a wrench for assembly. Having everything ready makes the process smooth.
Assemble The Frame
Start with the base frame. Attach side panels to support the structure. Secure parts tightly with screws to avoid wobbling. The frame holds all components firmly in place.
Install The Motor And Brushes
Mount the motor on the frame securely. Connect the brushes to the motor shaft. Check that brushes spin freely without hitting the frame. Proper installation ensures effective cleaning.
Attach The Wheels
Fix wheels to the frame’s bottom corners. Use nuts and bolts to secure them. Test if wheels turn smoothly. Good wheels provide easy movement across floors.
Connect The Battery And Wiring
Place the battery in a safe spot on the frame. Connect wires from the battery to the motor terminals. Insulate wires to prevent short circuits. This setup powers the machine efficiently.
Test The Machine
Switch on the machine and watch the brushes spin. Move the machine to check wheel function. Listen for unusual noises. If all works well, your floor cleaner is ready to use.

Credit: interestingengineering.com
Safety Tips While Building
Building a floor cleaning machine can be rewarding and useful. Safety must be the top priority during every step. Small mistakes can cause serious injuries. Follow clear safety rules to protect yourself.
Wear proper safety gear before starting work. Always use gloves, safety glasses, and sturdy shoes. Protect your eyes from dust and sharp parts. Gloves guard your hands from cuts and burns.
Keep your workspace clean and organized. A tidy area reduces the chance of accidents. Remove any obstacles that might cause trips or falls. Good lighting helps you see parts clearly.
Use The Right Tools And Equipment
Choose tools made for the job. Avoid using damaged or worn-out tools. Check each tool before use to ensure it works well. Faulty tools can cause accidents or damage parts.
Follow Electrical Safety Rules
Make sure all electrical parts are unplugged during assembly. Use insulated tools when working with wires. Avoid wet or damp areas to prevent electric shocks. Double-check connections before powering the machine.
Handle Sharp Parts Carefully
Parts like blades need extra caution. Always hold blades by the dull side. Store sharp parts safely when not in use. Dispose of broken pieces properly to avoid injuries.
Work Slowly And Double-check
Rushing can lead to mistakes and injuries. Take your time assembling each part. Review your work often to catch errors early. Safe building means careful and patient work.
Testing And Maintenance
Testing and maintenance keep your floor cleaning machine working well. Regular checks stop small problems from growing. Maintenance also makes the machine last longer. Clean parts and fix issues fast for best results.
Testing The Floor Cleaning Machine
Start testing by checking all the connections. Make sure wires and plugs are secure. Turn on the machine to see if it runs smoothly. Listen for strange noises or vibrations. Check if the brushes or pads spin correctly. Test the water and detergent flow. Note any leaks or blockages. Test the machine on a small floor area. Look for even cleaning and no streaks.
Routine Maintenance Tasks
Clean the machine after each use. Remove dirt from brushes and pads. Empty and rinse the water tanks. Check filters and clean or replace them. Inspect hoses for cracks or clogs. Tighten loose screws or bolts. Lubricate moving parts to reduce wear. Replace worn brushes or pads on time. Store the machine in a dry place.
Signs Your Machine Needs Repair
Machine stops suddenly or won’t start. Brushes do not spin or slow down. Water or detergent does not spray. Strange smells or smoke appear. Excessive noise or shaking happens. Visible damage to cords or parts. Poor cleaning results after use. Address these signs immediately to avoid bigger issues.

Credit: www.youtube.com
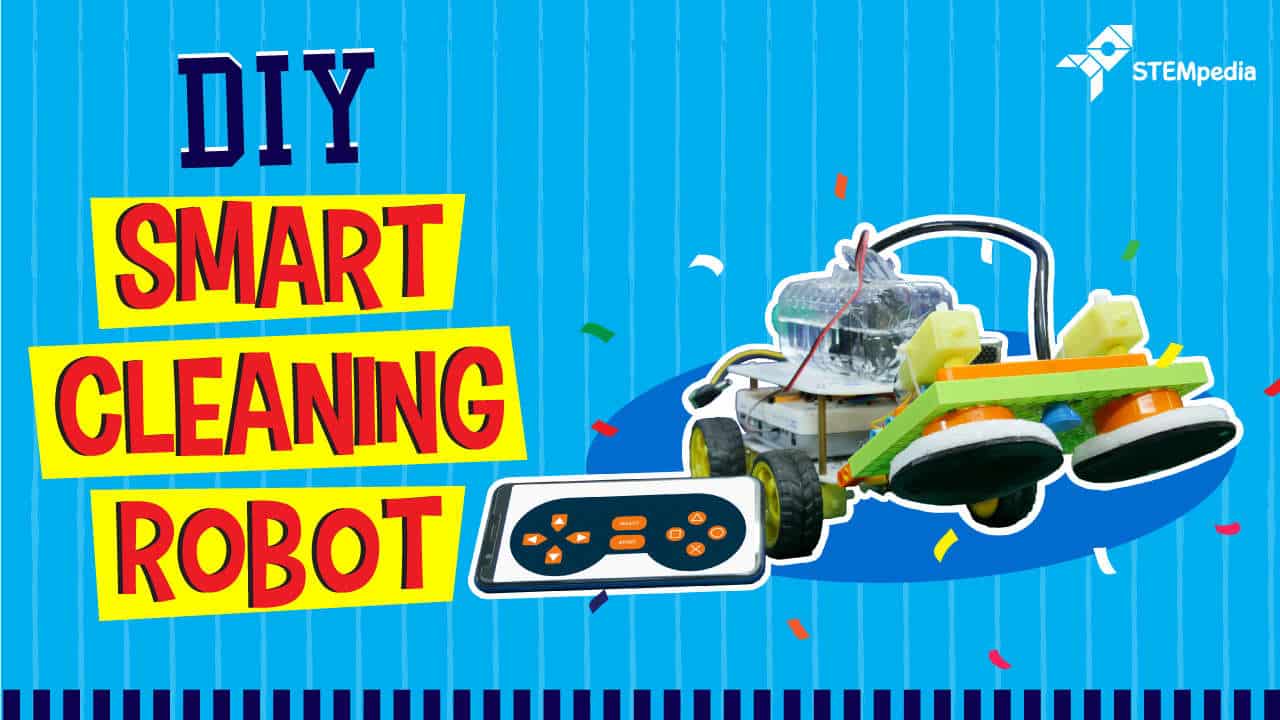
Credit: ai.thestempedia.com
Frequently Asked Questions
What Materials Are Needed To Make A Floor Cleaning Machine?
You need a motor, brushes, wheels, a water tank, and a frame for the machine.
How Do You Assemble The Motor And Brushes?
Attach the motor to the frame, then connect the brushes to the motor shaft securely.
Can I Use Household Items To Build This Machine?
Some parts can be from home, but motor and brushes should be bought for best results.
How To Power The Floor Cleaning Machine Safely?
Use a proper power supply, check wires, and avoid water contact with electrical parts.
How Do I Maintain The Floor Cleaning Machine?
Clean brushes regularly, check motor function, and keep water tank empty after use.
Conclusion
Making a floor cleaning machine can save time and effort. You only need simple parts and clear steps. Following this guide helps you build a useful tool at home. Regular cleaning keeps floors shiny and safe. Try making your own machine to see how easy it is.
Enjoy cleaner floors with less work every day. Simple projects like this make daily chores better. Give it a try and notice the difference soon.