

Clean a burr grinder by disassembling, brushing out grounds, wiping burrs, and reassembling carefully.
I’ve spent years pulling shots and maintaining grinders in cafes and at home, so I know what works and what wastes time. This guide on how to clean burr grinder covers tools, step-by-step instructions, tips for different models, safety notes, and common mistakes so you can keep flavor sharp and machines running longer.
Why cleaning your burr grinder matters
A clean burr grinder keeps coffee fresh and consistent. Old oils and stuck grounds change flavor and make dosing uneven. Cleaning also prevents clogs and reduces wear on the burrs.
Regular cleaning protects your investment. A well-kept grinder lasts longer and saves money on repairs or early replacement. Learning how to clean burr grinder is a small step that yields big flavor gains.
Source: thekitchn.com
How often to clean a burr grinder
How often you clean depends on use and coffee type.
- Daily: Light brushing of the hopper and chute if used heavily in a cafe.
- Weekly: Remove and brush burrs for home use that sees daily grinding.
- Monthly: Deep clean with partial disassembly and thorough wiping.
- Every 6–12 months: Full strip-down and detailed cleaning, or sooner if switching beans or noticing off-flavors.
Keeping a simple schedule prevents oil build-up and stale grounds. Knowing how to clean burr grinder often will keep your coffee tasting like it should.

Source: thekitchn.com
Tools and supplies you’ll need
Having the right tools makes cleaning fast and safe.
- Soft brush or grinder brush for removing grounds
- Small vacuum or canned air for hard-to-reach areas
- Clean, lint-free cloths or microfiber cloths
- Mild dish soap and warm water for removable parts
- Toothpicks or interdental brushes for tight spots
- Screwdriver set if your model requires partial disassembly
- Grinder cleaning pellets for deep cleaning (optional)
I always keep a small kit near my grinder. It cuts cleaning time and helps me stick to the schedule.
:max_bytes(150000):strip_icc()/how-to-clean-a-coffee-grinder-5093606-hero-b3446632eec44d5aa504be59fafd4bf5.jpg)
Source: thespruce.com
Step-by-step: how to clean burr grinder (basic daily/weekly)
Follow these steps to clean most electric or manual burr grinders.
- Unplug and empty the hopper
- Turn off power and unplug the grinder for safety.
- Remove beans and set hopper aside.
- Remove the hopper and lid
- Twist or unscrew the hopper per your model’s instructions.
- Wipe the hopper with a dry cloth or wash with mild soap if needed.
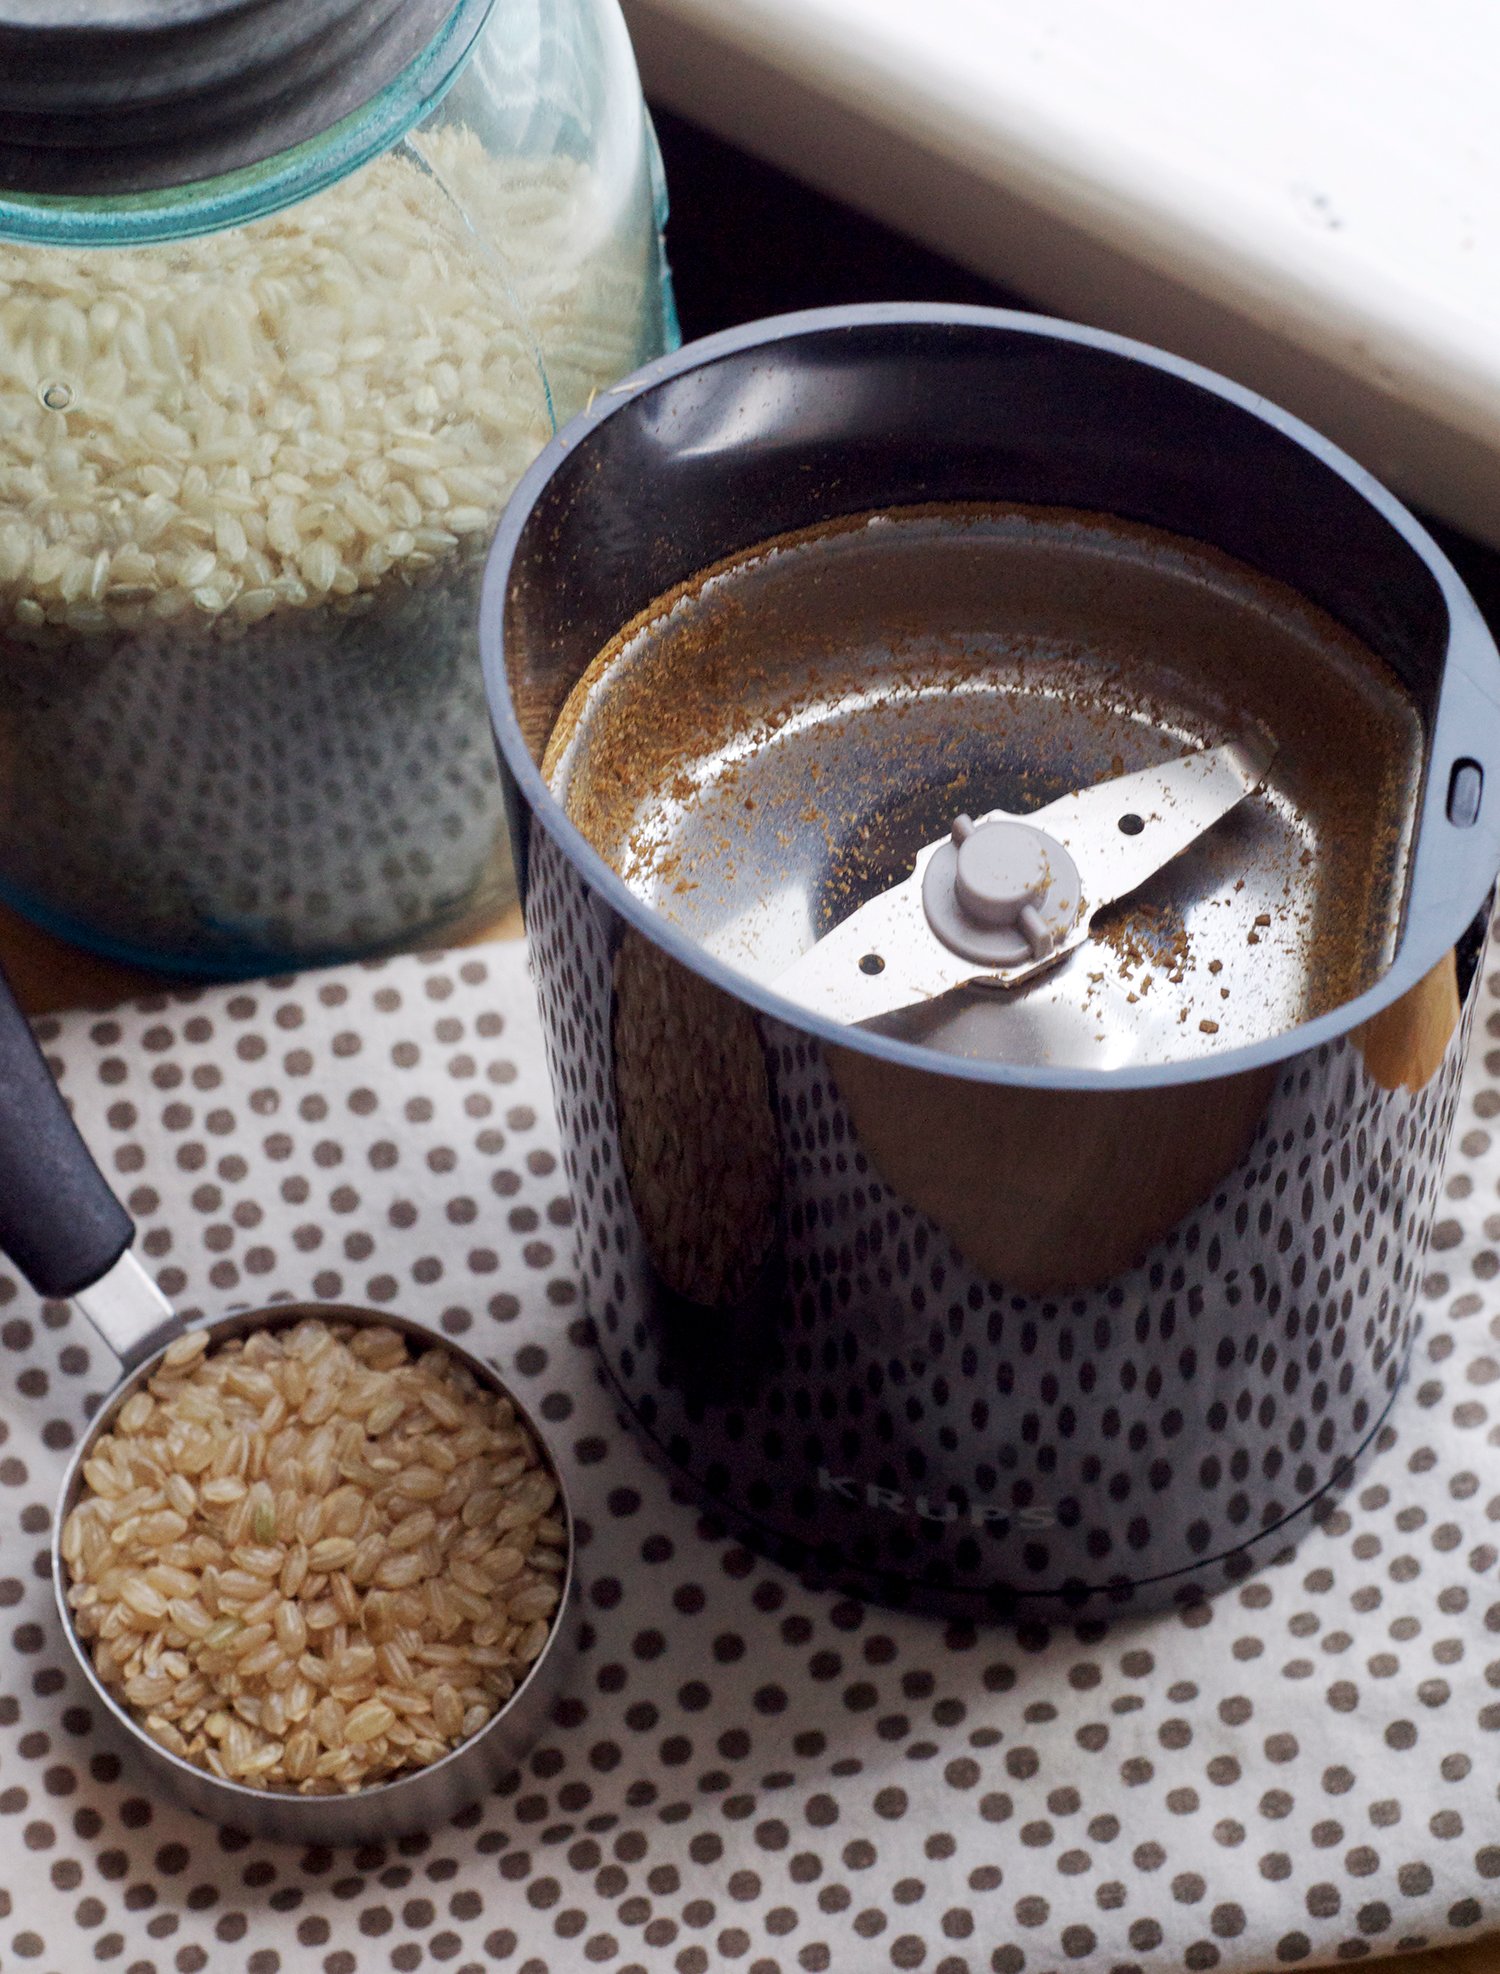
- Brush out loose grounds
- Use a soft brush to sweep out grounds from the chute and burr chamber.
- Tip grinder over a trash bin and brush to avoid mess.
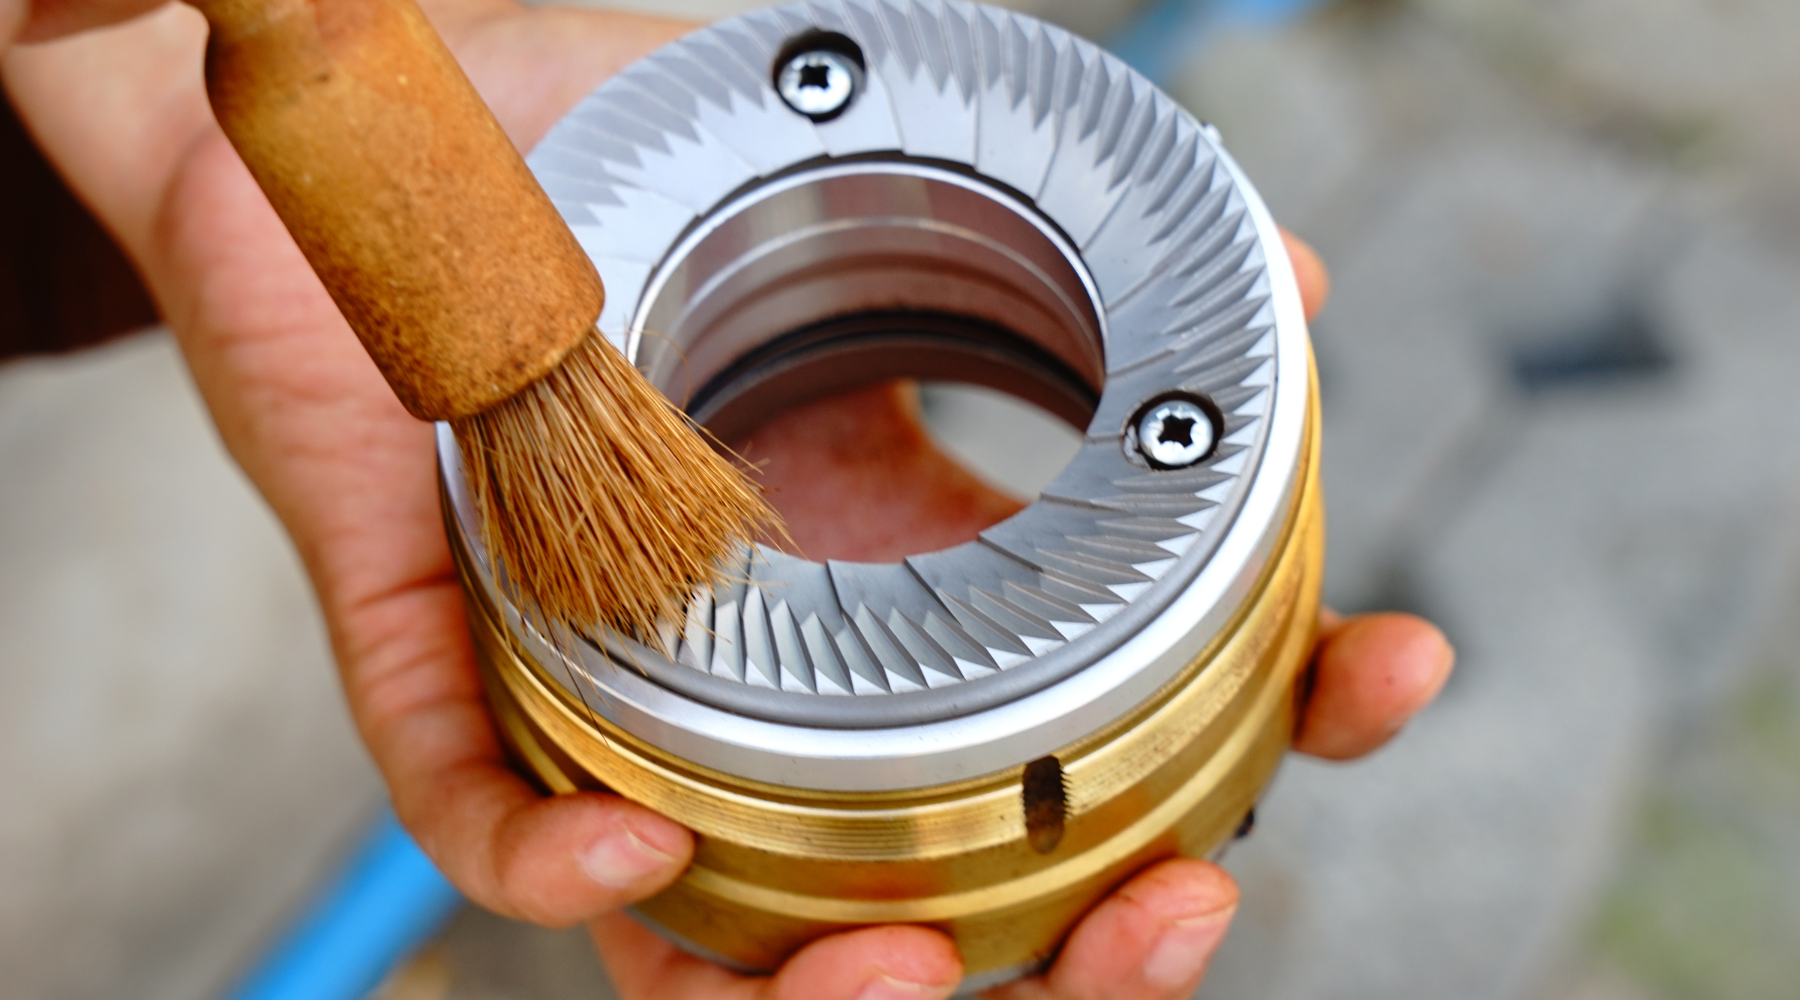
- Clean the burrs
- Remove the top burr if your grinder allows.
- Brush the burr surfaces gently to remove grounds and oils.
- Use a toothpick for stuck bits in crevices.
- Wipe and reassemble
- Wipe removable parts dry and let them air-dry fully if washed.
- Reassemble according to the manual and test grind with a small amount of beans.
These steps show how to clean burr grinder quickly and safely for routine maintenance.

Source: youtube.com
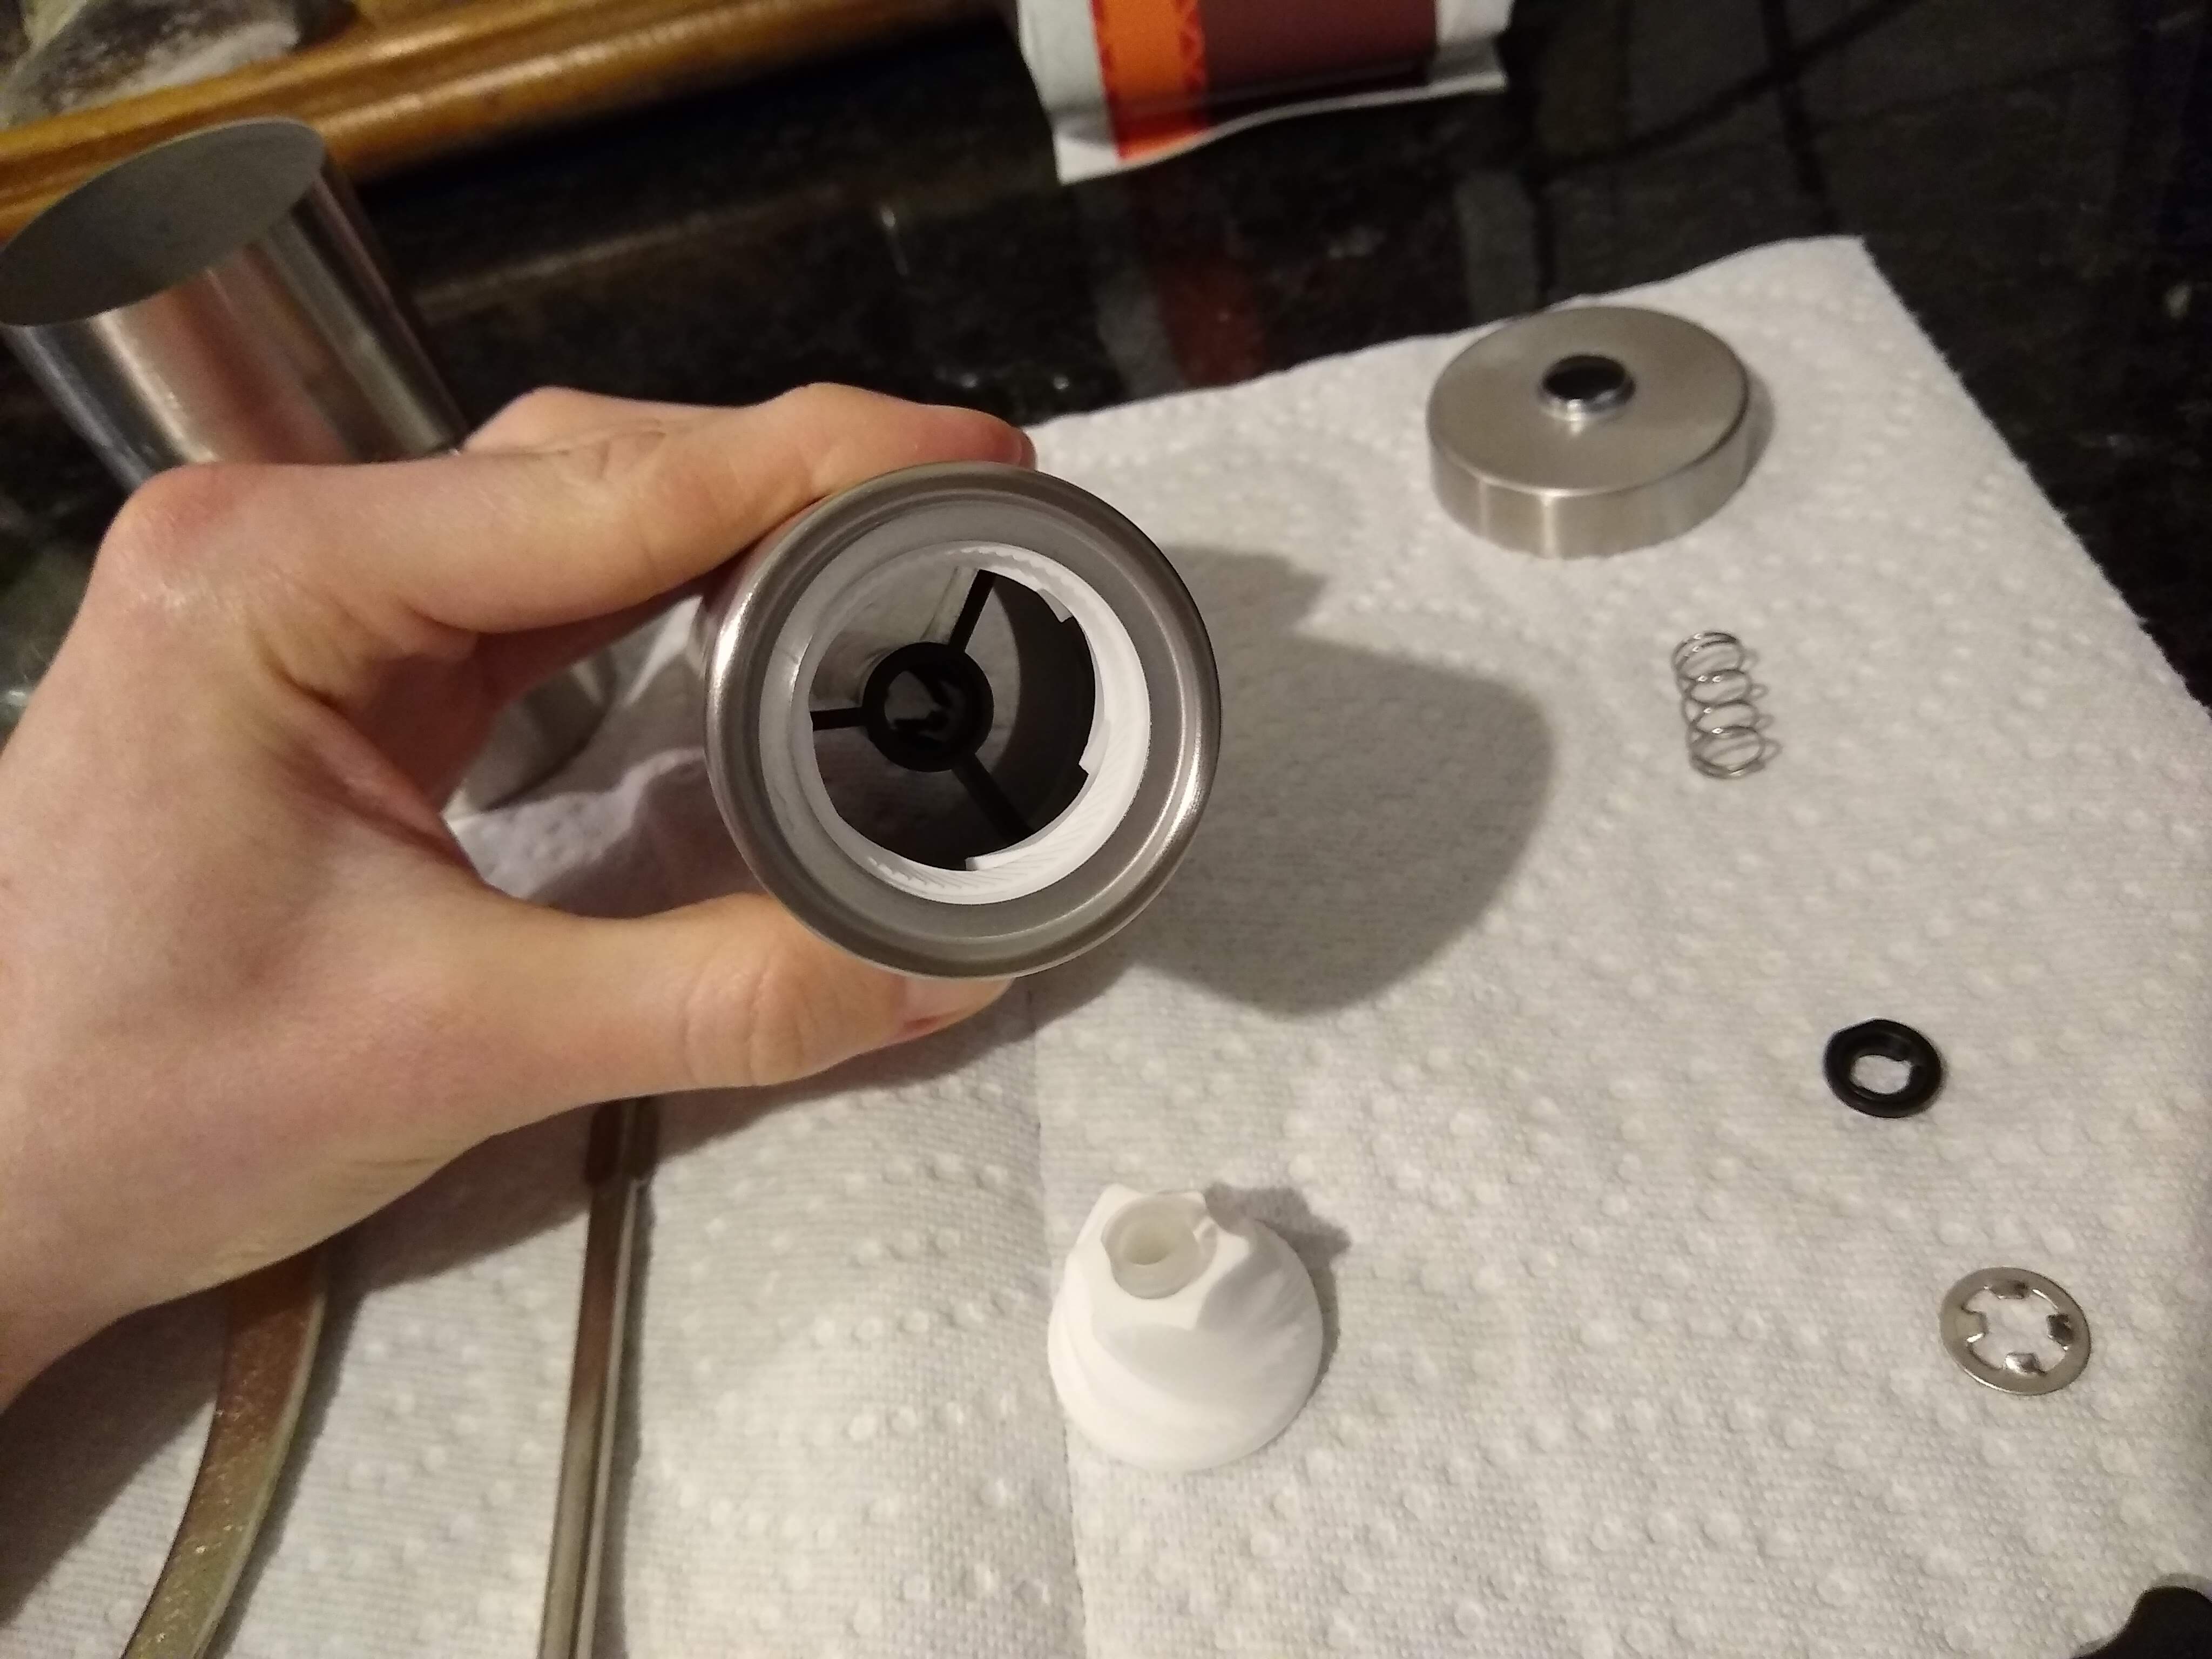
Deep cleaning: full disassembly and thorough care
Deep cleaning is for a full refresh. Do this every few months or when you switch bean types.
- Read the manual: Confirm how to disassemble parts and avoid voiding warranty.
- Take photos while you disassemble: They help with reassembly.
- Remove both burrs: Clean both top and bottom with a brush. If washable, rinse and dry completely.
- Clean the grind chamber and chute: Use a soft brush and vacuum for loose debris.
- Wash removable plastic or metal parts in warm, soapy water. Dry fully before reattaching.
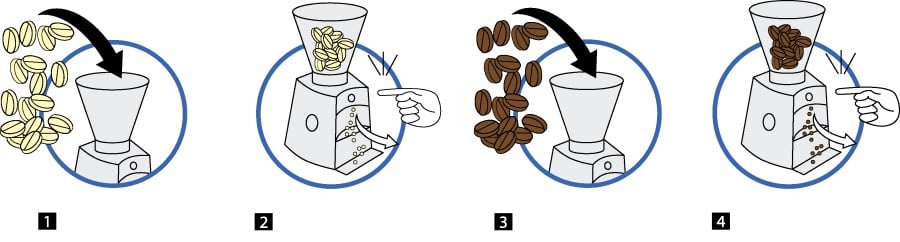
- Use grinder cleaning pellets sparingly: Run a small amount, then grind a few beans to purge residue.
Deep cleaning ensures no stale oil or stuck grounds remain. It’s the best way to restore peak flavor and performance.
:max_bytes(150000):strip_icc()/sea-how-to-clean-a-coffee-grinder-irvin-lin-13-b47f18ee6fce445d8891e09bacfa3b02.jpeg)
Source: seriouseats.com
Cleaning tips for different grinder types
Not all grinders are the same. Here’s how to clean common types.
- Electric burr grinders: Unplug first. Most allow easy burr removal and brushing. Avoid submerging motors or electronics.
- Manual hand grinders: Open the top and remove the burr cage. Hand-wash metal parts if allowed, and oil the axle lightly if manufacturer suggests.
- Flat vs conical burrs: Both need brushing. Flat burrs often hold more trapped grounds; take care to reach crevices.
- Doser grinders: Remove the doser and clean each chamber. Old grounds hide in dosing mechanisms.
- Built-in grinders (espresso machines): Use manufacturer-recommended steps. Many built-in grinders need special tools or service for deep cleans.
Knowing your grinder type helps you clean safely and effectively. Always follow the manual.

Source: youtube.com
Safety, common mistakes, and maintenance tips
Avoid these errors and keep your grinder safe.
- Never use water on electrical parts: It damages the motor and electronics.
- Don’t over-tighten screws: Stripped threads or warped parts can follow.
- Avoid harsh cleaners: Strong chemicals can damage finishes and affect flavor.
- Don’t skip drying: Moisture leads to mold and corrosion.
- Replace worn burrs: Grinding performance declines when burrs dull—check manufacturer specs for lifespan.
Small, regular care beats a rare deep clean. Learning how to clean burr grinder safely reduces surprises and downtime.
Source: clivecoffee.com
Personal experience and practical lessons
I once ignored a grinder for months at a busy pop-up. Shots tasted flat and inconsistent. After a deep clean and new burrs, extraction improved dramatically. Key lessons I learned:
- Take photos when disassembling. Reassembly becomes easy.
- Keep a small brush and cloth next to the grinder. Quick daily cleanups prevent big jobs.
- Track burr wear by quality of grind. If dosing drifts or fines increase, inspect burrs.
- When switching beans, run several grams of old beans out before new ones, or do a quick brush to avoid flavor carryover.
These small habits saved time and kept coffee consistent in the long run.
Source: javapresse.com
Troubleshooting common problems after cleaning
If problems appear after cleaning, try these fixes.
- Grinder won’t start: Ensure it’s plugged in and reassembled correctly. Some models have safety switches.
- Weird noises: Check for a misaligned burr or a stray screw. Re-seat parts and test at low settings.
- Excess fines or uneven grind: Recheck burr alignment and spacing. Burrs may need replacement.
- Sticky buildup returns quickly: Try cleaning more often or use dry cleaning pellets to remove oils.
If an issue persists, consult manufacturer support or a professional technician.
Frequently Asked Questions of how to clean burr grinder
How often should I clean my burr grinder?
Clean light debris weekly if you use it daily. Do a full deep clean every 3–6 months, or when changing bean types.
Can I use water on burrs?
Only wash burrs if the manual allows. Avoid getting water near motors or electronics and dry parts completely before reassembly.
Are grinder cleaning pellets safe?
Yes, when used per instructions. They remove oils and old grounds, but always follow with grinding a small amount of beans to clear residue.
How do I know when burrs need replacement?
If grind consistency drops, shots pull too fast or too slow, or you see visible wear, it’s time to replace burrs. Check manufacturer life estimates.
Will cleaning improve my coffee flavor?
Yes. Cleaning removes stale oils and grounds that cause off-flavors and inconsistent extraction.
Conclusion
Cleaning a burr grinder is simple, and it pays big rewards: better flavor, reliable dosing, and longer machine life. Follow routine brushing, monthly deeper cleaning, and full strip-downs as needed. Use the right tools, respect safety steps, and watch for worn burrs. Start small—pick one cleaning habit today, and you’ll notice better coffee tomorrow. Leave a comment with your grinder model and cleaning questions, or subscribe for more gear care tips.